Saturday, September 28, 2013

A Fall Hostess Gift

If you missed my House Tour Part 1, click here!

Since we seem to have all been bitten by the Fall bug I thought I would share a great idea for a very special fall hostess/host gift.
We have been invited to dinner at friends tomorrow and I want to bring a hostess gift.  There will be children and we will be bringing two of ours so I am keeping the gift young in spirit.

All you need is a pumpkin of any size, flowers (grocery store is just fine and usually quite nice), some floral foam, a bamboo skewer and the imagination of a fabulous florist!!!


Meet my little pumpkin!  About 6 inches across.  I usually make these arrangements much bigger but this pumpkin spoke to me and I listened.


These nifty little tools will also help tremendously!  They save time and best of all they save trips to the ER.  You can pick them up at most grocery stores and most craft stores.


Ya, they pretty much rule during the month of October.


Not quite sure why my pumpkin looks like it has been greased up...I swear no vaseline was used in this pumpkin carving! 


Once you have carved the top off, use the tool that scrapes the bejeebers out of a pumpkin so you end up with this jewel of a vessel.


Now you need to cut your floral foam to fit in the pumpkin snuggly.  It is BEST PRACTICE to fit a glass or plastic cup in the pumpkin and then put the foam in that container.  This helps keep the pumpkin fresher.  I could not find one the size I needed for this darn little fella but please do this because it is super important!


Grocery store flowers.  Gorgeous.


Cut your flowers to the height you think would look good with the size pumpkin you have.  Then just start arranging like that fabulous florist you are!


I used a straw to help my 'pre-drill' the holes into the floral foam so I didn't break the stems of the flowers.


Use the bamboo skewer to attach the top of the pumpkin into the floral foam and there you have a very festive fall hostess gift!!  Don't forget to add water at this point.


In addition to the arrangement I included some incredible Pumpkin Biscotti.  I got the recipe from StoneGable here.


This is the hostess/host gift.  The pumpkin arrangement, the pumpkin biscotti and a fragrant pumpkin candle.


I just put the biscotti in their own cellophane bags and placed them in a paper bag and then tied that bag with an orange ribbon and a name tag.  


Another package of biscotti for the other family that will be there.


So I hope you try to make a personal easy hostess/host gift the next time you are invited to someone's home.  It will really mean a lot to them and it will make you feel great!


I would love it if you left a comment...also if you like my post please sign up to receive my future posts via email (sign up in my right sidebar).

Wednesday, September 25, 2013

Tina's Having A Contest!

Before I start my post today, if you missed my House Tour Part 1 post, click here!

Tina is having a contest over at her lovely blog The Enchanted Home.  Her prize is a pair of Blue and Cream Staffordshire Dogs.  The timing could not be more perfect since my home office makeover is going to center around blues, whites and grays!  See my post here from just yesterday!  I've already started my collection of blue and white porcelain and can't wait to share them with you.  


Tina's challenge is to visit her online shop and choose a gift for one of her readers to give to her bridesmaids that will meet her budget of $150.00 each.  Because I like receiving lots of gifts myself, I thought it would be fun to put together a medley of monogrammed items that create a very unique personal thank you gesture.  I can envision them all sitting atop a bathroom vanity together and looking so elegant.


I would include a lovely monogrammed candle
($25)


A set of 4 gorgeous monogrammed soaps
($34)


A beautiful silver guest towel holder
($50)


A set of either 25 or 50 monogrammed guest towels 
($22 or $42)


There you have it!  A beautiful personalized gift that the Bridesmaids can proudly share with their guests.

Stop on over at The Enchanted Home and enter your idea!  Good luck to everyone.

Fondly-Lisa

Tuesday, September 24, 2013

My First Annie Sloan Project!

My first experience using Annie Sloan Chalk Paint and Wax....

First let me show you my inspiration photo for my office furniture.  This picture just melts me.


Here is what I have to work with


So here we go!


Day 1....Prep & First Coat
I kid you not...  the day I started Mr. L Street set up my work area while I was cleaning up after breakfast.  I almost fell over laughing when I saw it.  The wine was a joke and a great one.  It was his way of saying relax and go for it!  I think he was just as anxious for me to start as I was.   And yes, this pic is crazy staged by him for my benefit.  Too cute!  And perfect for a blog pic.


Here are my 'adjustments' to my work area.

I had my paints and brushes ready.  I also needed to wash my furniture a bit with my favorite no nonsense solution of vinegar and water.


The paint colors I chose for my office furniture were a 1:1 ratio of Paris Grey and Louis Blue.  The brush resting on the paint is the brush I will use for the paint.


First order of business in terms of prepping my furniture was to wash it clean.  Super easy, 2:1 water and vinegar.  Take a few paper towels and soak them in the vinegar mixture, squeeze then wipe the entire piece down.


I'm just using a couple of plastic cups to put my mixture of paints in.


My table was placed on a couple of saw horses (thank you honey).  This made it easier on my back as well as make painting the bottom of the legs so much easier.   This is not a high end piece.  All of the furniture is Bombay Company with veneer and a high gloss finish.


A bit of chipped veneer.  No worries right?????  Annie has me covered.


So because all the furniture I was painting had a bit of high gloss, I chose to rough it up a bit.  I just lightly sanded it as you can see below.  Nothing sweat breaking.  Annie's paint does not need much prep however common sense with older inexpensive furniture finishes makes sense.


Once my piece was prepped I was ready to paint (and really, really nervous).  I actually measured my paint ratios since I was painting a total of 5 pieces and knew I would have to keep mixing paint.


I took a pic of my first brush strokes for prosperity sake...


I think this a great example of the contrast between the old finish and the new.


Moving along.....


Here's the desk after her first coat.  I was extremely happy with it.  Pictures do not capture the magic of how chalk paint dries.   It is so gorgeous.


Day 2...Second Coat
I applied a second coat, this time I thinned the paint just a teeny tiny bit.  I would kiss the tips of the brush in a bowl of shallow water and then shake and dip in the paint.  This made the second application very smooth.

Day 3...Waxing
This was by far the most nerve wracking part of the entire experience.  I must had watched 5 YouTube videos and read the same number of blogs to review everything I had learned in my class.  The vase is another inspiration piece.  My office is going to be all blues, whites and grays.


Clear wax going on.  This was a breeze.


When it came to the dark wax I decided to lighten it by mixing 1:1 dark and clear.  This just helped lower my anxiety level.


I apologize for the lack of detail shown in regards to the dark wax.  Using my iPhone until my camera is back in action.  This shot has both clear and dark wax.  I wanted the waxing to be subtle and I was able to get the exact look I was going for!


I could not be happier with my first piece of furniture.  I now have these 4 remaining pieces to tackle, <gulp>.


Last but not least (because this isn't already the longest post ever!)...this is me super happy!


I would love to read your comments, please drop me a line.  If you enjoy my posts sign up to receive them via email (over in my right side bar).

Monday, September 23, 2013

Autumn's Calmness


Autumn mornings:
 sunshine and crisp air,
 birds and calmness, 
year's end and day's beginnings.

                                                                                    - Terri Guillemets


Sunday, September 22, 2013

Fall Cooking

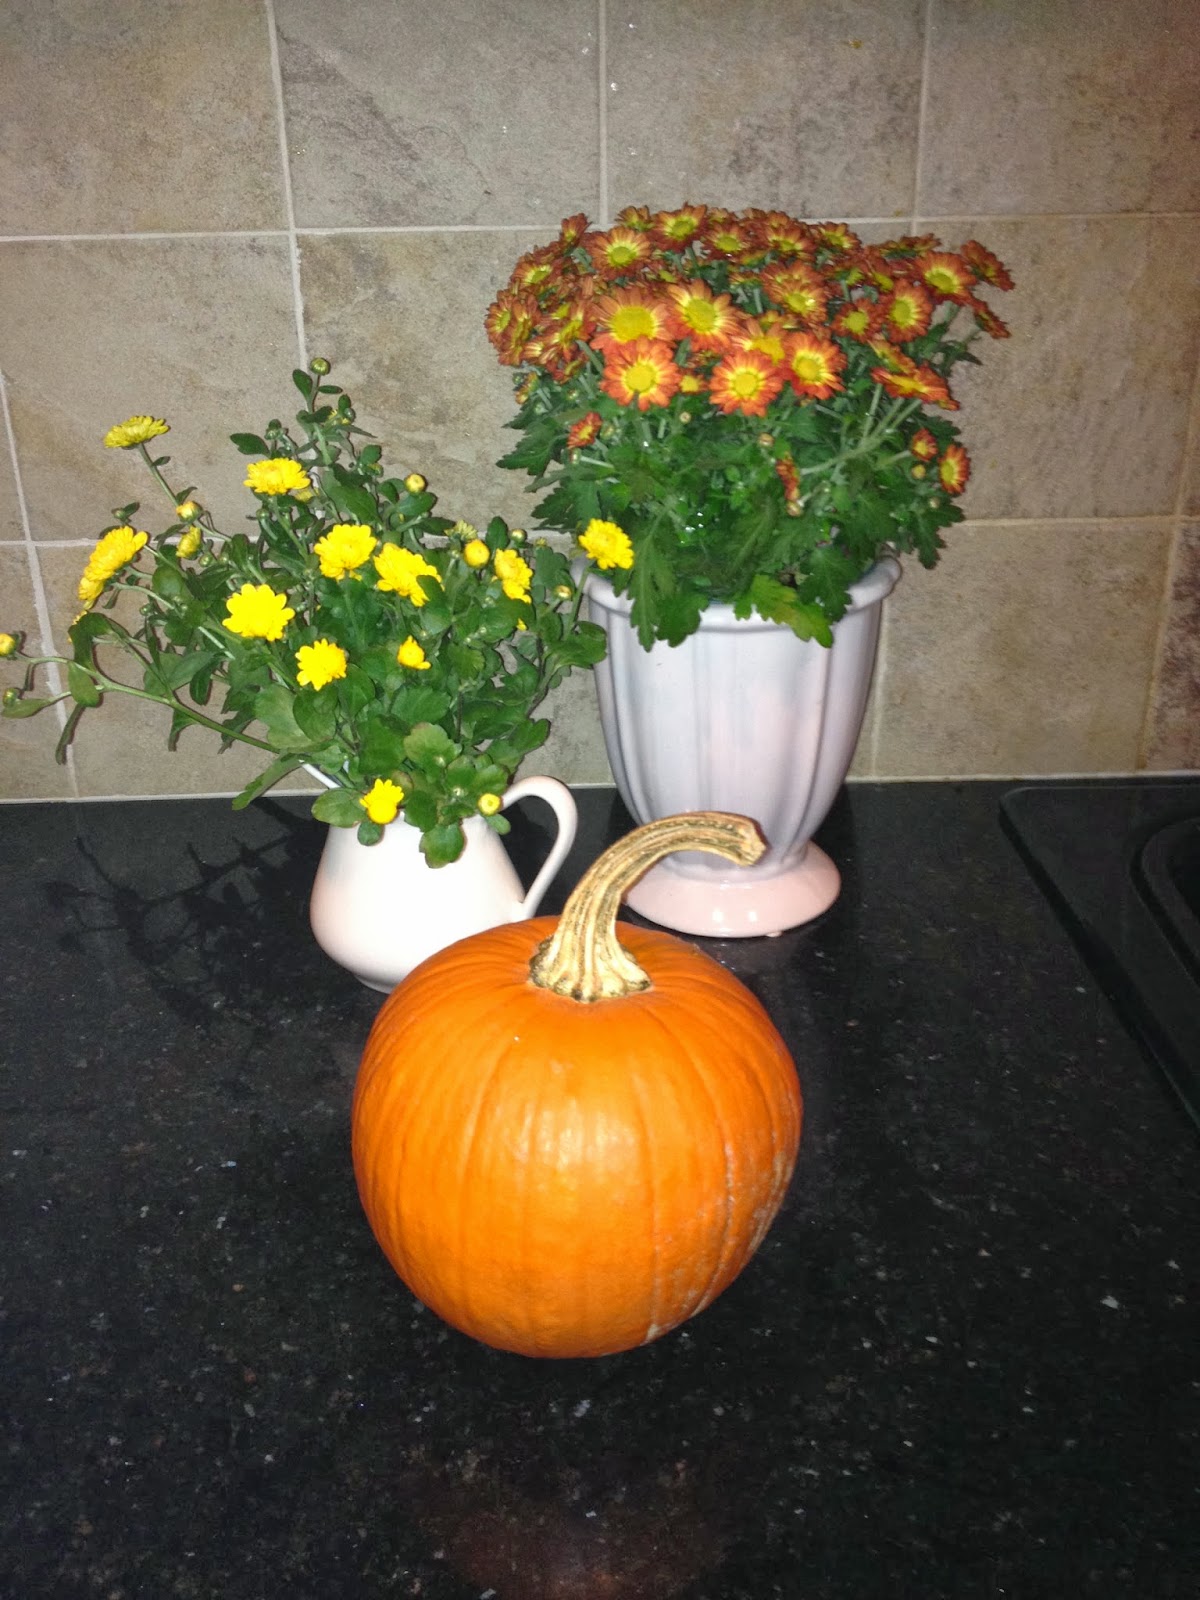
As soon as the temperatures settle down here in New England and the days start to get shorter I find myself spending more and more time cooking in my kitchen, browsing my recipe box and Pinterest for wonderful new creations.

We ended our summer with a large Lobster Bake this year and it was a hit.  I wish I had taken pics!  I set the table with special lobster plates (the plates actually explain how to eat a lobster!), a red and white checked table cloth, shells and lots of bright yellow flowers  We had corn chowder, coleslaw, corn on the cob, salad, sausage and maple syrup corn bread.  It was a fun festive way to end summer.

photo courtesy of Google Images


I've now moved onto more fall inspired meals that just make you want to curl up with a blanket and sit by the fire.  Last Sunday we enjoyed the most amazing Beef Barley Soup posted by Yvonne Pratt over at StoneGable.    This soup was simply delicious served with a garlic bread, a nice crisp salad and dry red wine.


Yvonne's gorgeous photo!


This is a slow cooker recipe that could not have been more easy to prepare.  We were having guests for dinner on Sunday so I decided to put the soup together Saturday afternoon and cook it all night so I would have all of Sunday free to do whatever I pleased.  It was the best idea if I do say so myself! The added benefit was being able to skim any fat off the top of the soup after I refrigerated it for the day Sunday!  Another benefit was the beef just melted in your mouth (I slow cooked it for 10 hours).  If you would like to try this recipe, click here and then please hop over to Yvonne's and let her know how fab it was.


Monday of this past week I made a tasty chicken stock that I let simmer the entire day.


Chicken stock is so much better made from scratch rather than purchased.  For me the key to a good stock is simmering it for hours (at least 5) therefore letting the stock condense a bit (more water evaporating).  Whenever I have a chicken carcass left over I either make a stock right away or I put it in a zip lock back and freeze it for later.  This particular stock was made from 2 carcasses that had been hanging out in my freezer.

I throw in whatever veggies I have on hand...this stock got onions, celery, carrots and green pepper.  Toss in some salt, pepper and minced garlic and magic just happens all there by itself on your stove.
Strain it all, refrigerate the stock and skim the fat off the next day.  Freeze the rest and enjoy it when a recipe calls for stock.  Delish!!

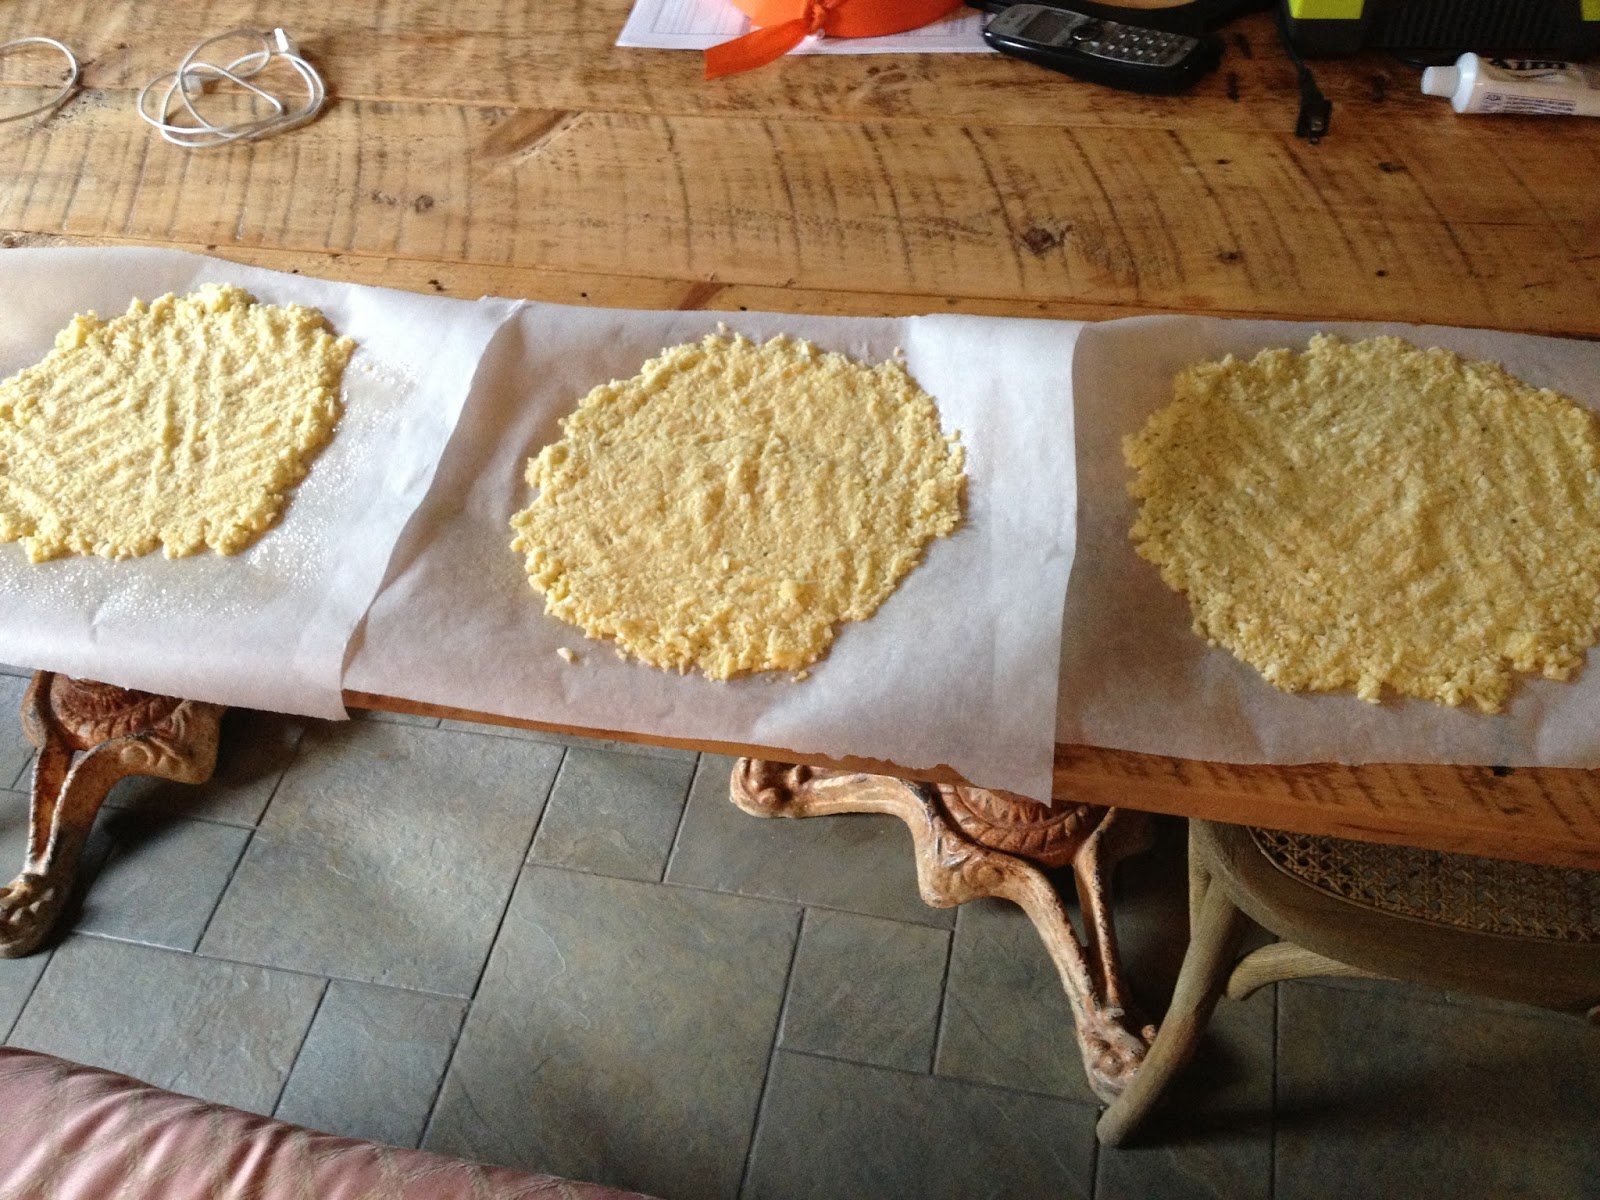
Last Friday night we had friends over for dinner and I thought it would be fun to have an interactive meal.  I have made cauliflower pizza crust in the past and it was a huge hit with Gary.  He asks for it all the time.  We had a total of 6 of us eating so I made 7 crusts ahead of time and simply stored them on parchment paper as they waited to be pre-cooked.  Here is the recipe I used from Eat.Drink.Smile.


Everyone brought different toppings and made their own pizzas.  What a fantastic fun evening that was.
Here is a pic of my personal creation.


Half was butternut squash, sage, pine nuts and goat cheese.  The other half was green pepper, eggplant and walnut spinach pesto.  I also served a light healthy salad I found on Rhoda's blog Southern Hospitality.  She didn't have an official recipe but explained it was cucumbers, tomatoes, avocados, onions, balsamic vinegar and olive oil.  All I know is it was yummy!!

Another evening was a breakfast sausage, smoked gouda quiche made in a spaghetti squash crust served along side a fall salad make with cranberries, chopped pecans, goat cheese, balsamic vinegar & olive oil.

I came across spaghetti squash recipes for crusts on Pinterest and thought I would give it a try.  I was not disappointed!


Just cook your spaghetti squash in the oven at 350 degrees for about 45minutes (till fork tender), once cooled shred it with a fork.  Spray your pie pan with non-stick spray, line your pie pan with the squash and then cook for about 30 minutes to remove some of the moisture.


Once you have removed the 'crust' from the oven you can go ahead and fill with your favorite quiche fillings.  I tend to just use what I have on hand and this time it was fresh breakfast sausage from a local farm, chopped sage and mushrooms leftover from my pizza night, a little smoke gouda and plenty of swiss.  Of course eggs and good cream.


Cook at 350 degrees for 45 minutes, let cool for at least 5 minutes before cutting into it.

Enjoy!

Glad you stopped in to visit, please leave a comment and subscribe by email to receive my future posts.

Fondly-Lisa