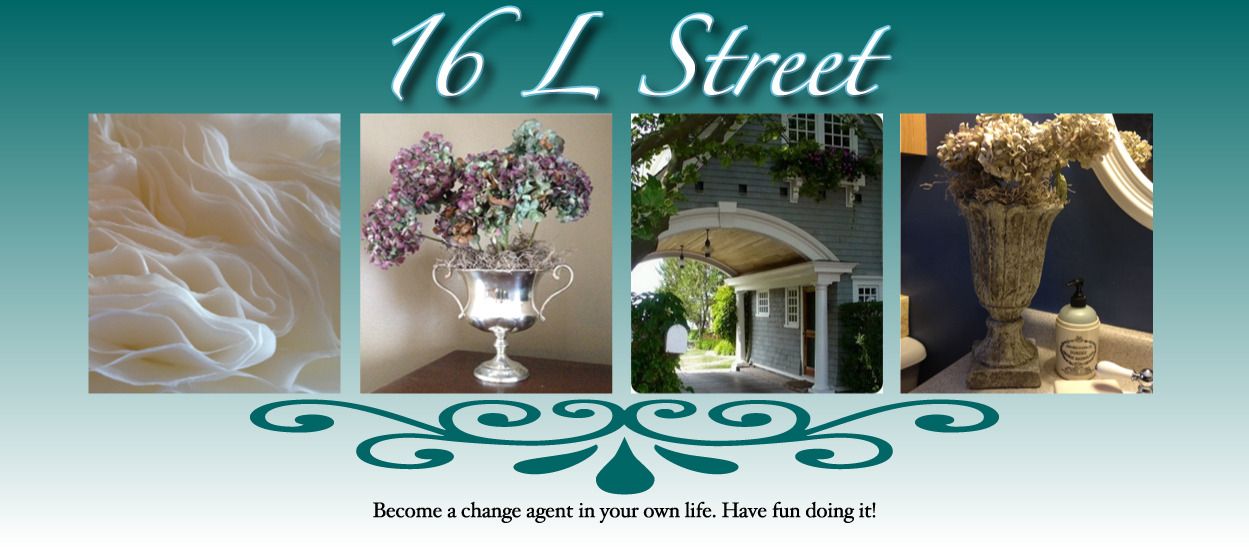
Here were my inspiration photos for this project:
My other inspiration was my gorgeous concrete urn displayed in my bathroom
It got me thinking that if I played around a little bit with some plaster of paris, I might be able to get the peat pots to look similar to concrete and display them in the same bathroom.
It was super simple. All I did was:
-purchase some peat pots which are dirt cheap pun intended
-mix up some plaster of paris to get a fairly thick consistency and dab it onto the outside of the pot, skipping the bottom. Be sure to make it thick in some areas and less thick in others. This gives a much more natural finished appearance.
Once this has completely dried, paint it! I mixed what I had on hand which was Dove Gray with Baby Blue by folkArt. Once that dried, I went back with a darker gray (almost black that I mixed myself) and dabbed around a bit then blotted with a paper towel.
Once I was happy with the look, I added the metal bookplates. I got mine in the scrapbook section of AC Moore. I tied them with some gray shear ribbon. I then printed 3 seperate words onto light pink vellum (vellum is so versatile and is also sold in the scrapbook section where all the loose paper is sold). My message is 'deams come true'.
Fill with floral foam, then add your favorite dried flower. I added hydrangeas from my previous season of blossoms, top with moss and you have an earthy new vignette.
Give it a try if you like the look of concrete. I hope you're as happy with your results as I am with mine!

I've linked this post to:
Domestically Speaking
{Primp}
Handy Man Crafty Woman
House of Grace
Beneath My Heart
BeColorful
The Red House/Mosaic Monday
 |
| source |
 |
| source |
My other inspiration was my gorgeous concrete urn displayed in my bathroom
It got me thinking that if I played around a little bit with some plaster of paris, I might be able to get the peat pots to look similar to concrete and display them in the same bathroom.
 |
| I am extremely happy with how they turned out |
It was super simple. All I did was:
-purchase some peat pots which are dirt cheap pun intended
-mix up some plaster of paris to get a fairly thick consistency and dab it onto the outside of the pot, skipping the bottom. Be sure to make it thick in some areas and less thick in others. This gives a much more natural finished appearance.
Once this has completely dried, paint it! I mixed what I had on hand which was Dove Gray with Baby Blue by folkArt. Once that dried, I went back with a darker gray (almost black that I mixed myself) and dabbed around a bit then blotted with a paper towel.
Once I was happy with the look, I added the metal bookplates. I got mine in the scrapbook section of AC Moore. I tied them with some gray shear ribbon. I then printed 3 seperate words onto light pink vellum (vellum is so versatile and is also sold in the scrapbook section where all the loose paper is sold). My message is 'deams come true'.
Fill with floral foam, then add your favorite dried flower. I added hydrangeas from my previous season of blossoms, top with moss and you have an earthy new vignette.
Give it a try if you like the look of concrete. I hope you're as happy with your results as I am with mine!

I've linked this post to:
Domestically Speaking
{Primp}
Handy Man Crafty Woman
House of Grace
Beneath My Heart
BeColorful
The Red House/Mosaic Monday

The Shabby Creek Cottage


Hi Lisa, These are so cute and what a great idea! Thank you for visiting and I am so happy to find your lovely blog. Now following.
ReplyDeleteHugs, Sherry
Thanks Sherry I am following yours as well! It is really so similar to my style.
Deletelove it!! But then I love everything you do!!! =)
ReplyDeleteblessings
barbara jean
Oh thanks so much Barbara!
DeleteHugs
Thanks for the link back. So glad I inspired you. Your peat pots look great. High Five!
ReplyDeleteYou're welcome Rosemary. Your blog and the things you create are wonderful. I love the consistent gray/white/bluish colors.
DeleteWhat a ''dirt'' cheap project!! LOVE IT!!! The result is soooo pretty!!!
ReplyDeleteThanks so much for sharing this at The DIY Dreamer... From Dream To Reality!!
Glad you liked it!!
DeleteVery nice - so pretty!
ReplyDeleteI would love for you to stop by my blog and link up to my Creative Inspirations party happening now! I would love to have you there!
Stacey of Embracing Change
http://staceyembracingchange.blogspot.com
These look amazing-happy to find your blog-following from beneath my heart-stop by for a visit!
ReplyDeleteNow that is something I NEVER would have thought to do. This is why I love reading blogs. :D So pretty and for not a lot of $$$. Thanks so much for linking your creative project up to Motivated Monday at BeColorful this week.
ReplyDeletepam
Wow, a creative idea.
ReplyDeleteHappy Easter.
Pat
The peat pots look great! Thanks for the tutorial!
ReplyDeleteHow pretty and creative! You'll enjoy these year round!
ReplyDeleteThey look wonderful, great job.
ReplyDeleteWhat a fabulous project -- they turned out beautifully! Thanks so much for sharing your talents at MM. :) xoxo
ReplyDeleteFun project!
ReplyDeleteThis post was a great "twofer" - beautiful pictures and a super project tutorial. I am definitely going to do this since I just picked up a bunch pof peat pots and hadn't even considered making them pretty. Now I will.
ReplyDeleteLove, love, love this, so like the whole content of what you have shared! On my blog you will also always see my favorite word at the top of my page...Cherish...it speaks my whole heart;)
ReplyDeleteThese turned out beautiful! Thanks for linking up to my party. :)
ReplyDeleteI'll be featuring your project in my next post.
Blessings,
Traci